Demo Screenshots
| 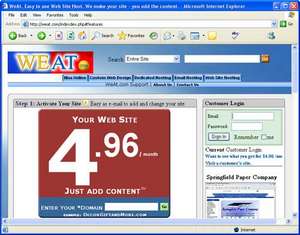
| Enter your email address and password to sign in to your site's control panel. | | 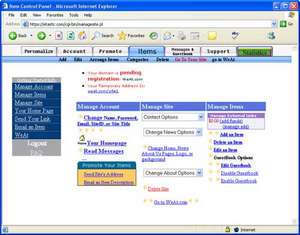
| Once signed in to your control panel, you have complete control to Add, Edit, and even Delete your content.. | Add Categories - Categories become the tabs at the top of your page. | 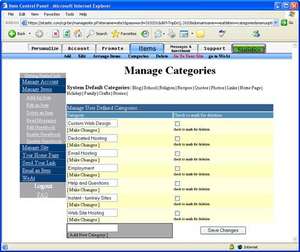
|
Select the "Categories" option to specify new categories that become tabs and navigation options on your web site. Buttons are displayed on your site once you add an item to the category.
To create a new category just fill in the category name in the grey box and click the save button.
|
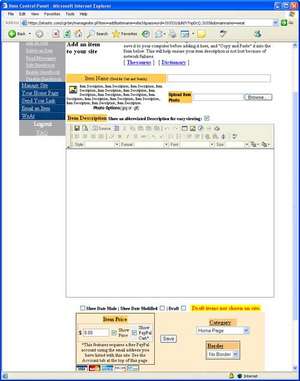
Add Items - Activate your tabs at the top of your page by adding an item.
| 
|
Select the "Add an Item" option to add a new item to your site.
1) Enter an item name that is used by the cart and you to identify an item
2) Browse to a photo* on your computer. Only upload images that are 500 pixels wide or smaller. This will speed up the process
3) Remove the check from the "Show an abbreviated Description for easy viewing" if you will only have one or two items in the category.
4) Enter the description of the new item
5) Enter a price if this is an item for sale. Otherwise, leave the price blank
6) Select the category for your item
7) DRAFT items are not shown on your site. Only check the draft box if you don't want the item to display.
8) Select a border
9) Click the save button
* Limit the width of your image to 500
pixels wide. You can do this using the
image editing software that came with
your camera or scanner
| Edit Items - You can easily make changes to any item. | 
|
Select the "Edit an Item" option to make changes to items you have already added to your site. Once you select the "Edit an Item" option, you will see a list of items on your site similar to the one to the left. Click on the blue "Name" of the item you want to edit. Your item will appear in an edit window.
Make your changes and click the save button.
| |
